4 Types of Attic Insulation: Which One Is Right for Your Home?
Got your latest energy bill handy? Yeah, chances are, it wasn’t pretty. This summer, the upstairs felt like an oven. Last winter, you maxed out the thermostat, and the bedrooms still froze.
If this sounds like your house, the issue can be in your attic. But here’s the thing: daily comfort and utility expenditures are impacted by what occurs in your attic. The cost, performance, and timing of the four attic insulation materials utilized in Bay Area attics are all covered in this guide.
Have questions about attic insulation?

What Is Attic Insulation?
Your attic sits between outdoor weather and the rooms where you actually live. Heat moves freely through this space without insulation. Summer brings hot air flooding down through the ceiling. Come winter, all that warm air you paid to heat? It rises and leaks straight through the roof.
Insulation fixes this by trapping air in millions of tiny pockets. Heat has a much harder time passing through in either direction. So your HVAC system doesn’t run constantly. Your energy bills? They drop. Rooms stay at the temperature you set.
Why Attic Insulation Matters
Inadequate attic insulation wastes 25-30% of what you spend on heating and cooling your home.
Your HVAC system runs nonstop, trying to keep up. Upgrading changes several things. Systems run less, which drops monthly energy bills. Temperature swings between rooms decrease. Less dust and outdoor air sneaks inside. Energy upgrades increase home appraisal values. HVAC equipment lasts longer under less strain.
How Does Attic Ventilation Work?
Insulation stops heat from transferring, but you also need air moving through the attic or moisture builds up. You need both working together.
Soffit vents at the eaves bring fresh air in. Ridge vents or gable vents at the peak let hot, humid air out. Heating services and residential air conditioning services run efficiently when both systems work correctly.
Common Problems with Poor Insulation
There are a number of warning indicators that indicate insufficient insulation. Even though you haven’t made any changes, your expenses keep going up; wood rot and mold can result from localized condensation and moisture issues. That warm air meeting cold surfaces? It creates condensation. Mold grows. Wood rots.
As insulation ages, it compresses and settles. Performance drops. Air escapes through gaps around pipes and wires. Rodents get in and chew holes, then build nests. San Ramon homes deal with this. So do houses in Pleasanton and across the Bay Area.
Different Types of Attic Insulation
You’ll find four main types of insulation in residential attics around here. Each performs differently and costs differently. Understanding the different types of insulation available helps you pick what works for your home.
1. Fiberglass Batt Insulation
Pre-cut fiberglass batts fit standard joist spacing. These pink, yellow, or white rectangles use woven glass fibers to trap air inside.
R-Value: R-2.9 to R-3.8 per inch (most batts you’ll find are R-13 to R-38)
Cost: $0.30 to $1.50 per square foot with installation
The Pros of Fiberglass Batt Insulation
Batt insulation for attic spaces costs less than alternatives. Handy homeowners can install it themselves, which skips labor charges entirely. Fire won’t spread through it. Batts suit attics with regular joist spacing and minimal obstructions. Ideal for standard attics with open joists and minimal obstructions.
Cutting them to fit around wiring and pipes? Doesn’t require special equipment. Home centers stock common sizes. The material holds its position after installation.
The Cons of Fiberglass Batt Insulation
Gaps around batts reduce performance by 20-50%. Small spaces between sections let air through and cut efficiency dramatically. Installation quality matters tremendously here. Compressed batts? They lose R-value. Irregular joist spacing creates fitting challenges.
Before you touch fiberglass attic insulation, you’ll want gloves, long sleeves, and a respirator. Skin contact itches badly. The dust will irritate your lungs and throat if you breathe it. If moisture gets in, performance drops and mold starts growing. Obstacles and irregular framing complicate installation.
2. Blown-In Fiberglass Insulation
They run a hose up to your attic and blow in loose fiberglass, letting it drift into all the small spaces around wires and pipes where batts just can’t fit.
R-Value: R-2.2 to R-2.7 per inch
Сost: $1.50 to $2.50 per square foot
The Pros of Blown-In Fiberglass Insulation
This method fills gaps that batt insulation for attic applications misses. Loose fibers flow around obstructions and into irregular spaces. Installation goes faster than laying batts. Need more insulation later? Just add another layer on top.
Attics with unusual layouts handle blown-in insulation types like fiberglass well, older homes with non-standard framing, especially. It settles into corners and odd angles. Fire resistance matches batt products, and it doesn’t readily absorb moisture.
The Cons of Blown-In Fiberglass Insulation
Settling eventually reduces the initial R-value by 10-15%. Wind can move loose fibers around in ventilated attics. Most homeowners need professional equipment for installation. The fibers still cause skin and respiratory irritation.
Blown-in insulation types like fiberglass need greater depth to reach high R-values compared to denser materials. Deep loose-fill coverage makes walking in the attic difficult.
Talk to our experts and find the perfect attic insulation for your home
3. Blown-In Cellulose
Made from recycled paper treated with fire-retardant chemicals, cellulose gets installed like blown fiberglass but packs much more densely.
R-Value: R-3.2 to R-3.8 per inch.
Сost: $1.50 to $3.00 per square foot.
The Pros of Blown-In Cellulose Insulation
The R-value here beats blown fiberglass. Denser composition resists air movement effectively. Homeowners interested in environmental impact prefer the recycled newspaper content. The material fills gaps and voids completely.
No skin irritation like with fiberglass attic insulation. Sound dampening? Exceeds other loose-fill options. Fire-retardant treatment provides good fire resistance. Cellulose insulation options for attic applications handle older homes with irregular framing well.
The Cons of Blown-In Cellulose Insulation
Cellulose soaks up water like a sponge. It dries incredibly slowly, so once it’s wet, you’ve got mold growing and wood rotting. The added water weight can stress ceiling joists.
Settling exceeds fiberglass at 15-20% of the initial thickness. Costs run higher than fiberglass. Removing cellulose creates a bigger mess if replacement becomes necessary later.
4. Spray Foam Insulation
It begins as a liquid that expands to seal small gaps and hard-to-reach spots. There are two main types of insulation— open-cell and closed-cell. Closed-cell foam is denser, offers better R-value, and helps keep moisture from moving through the structure.
R-Value: Open-cell gives you R-3.5 per inch. Closed-cell goes up to R-6.0 to R-6.5 per inch.
Сost: Anywhere from $3.00 to over $7.00 per square foot.
The Pros of Spray Foam Insulation
Closed-cell spray foam insulation reaches R-6.5 per inch, which is higher than anything else commonly used. The installation process seals air leaks simultaneously. Closed-cell foam strengthens the roof deck structurally. Once cured, it doesn’t settle or sag.
Moisture resistance exceeds other types of insulation. Performance lasts decades. Spray foam creates an excellent vapor barrier when required.
The Cons of Spray Foam Insulation
Costs run three to five times higher than other options. You’ll need professional installation. Fumes are released during application and curing. Improper application can trap moisture in the roof deck.
Removal and replacement expenses stay high if future attic access becomes necessary. Some building codes require fire barriers over exposed foam. Spray foam seals the attic completely, so you can’t use traditional ventilation.
What Matters When Choosing Attic Insulation
Home layout determines which insulation options for attic spaces fit best. Budget matters, but so do other factors.
R-Value and Energy Efficiency
R-value shows how effectively insulation slows heat movement. Higher numbers mean better performance. Federal building standards recommend R-38 to R-60 for attics based on where you live. What you already have up there determines what you’ll add.
Bay Area homes typically need R-38 to R-49. Pick a material and thickness to reach that target. Keep in mind that some attic insulation materials lose R-value through settling.
Type of Insulation Material
Fiberglass handles standard attics with regular joist spacing. Cellulose tackles irregular spaces easily. Spray foam does air sealing and insulation together, but costs three to five times more.
Spray foam lasts 80 years or more. Fiberglass and cellulose typically need replacement after 15-20 years. Loose-fill materials complicate later work versus batts. Evaluating different types of insulation helps you understand longevity and maintenance needs.
Installation Method: DIY vs Professional
Batt insulation allows DIY installation if you’re comfortable in attics. Blown-in materials require equipment rental or professional help. Spray foam? You’ll need a professional. Period.
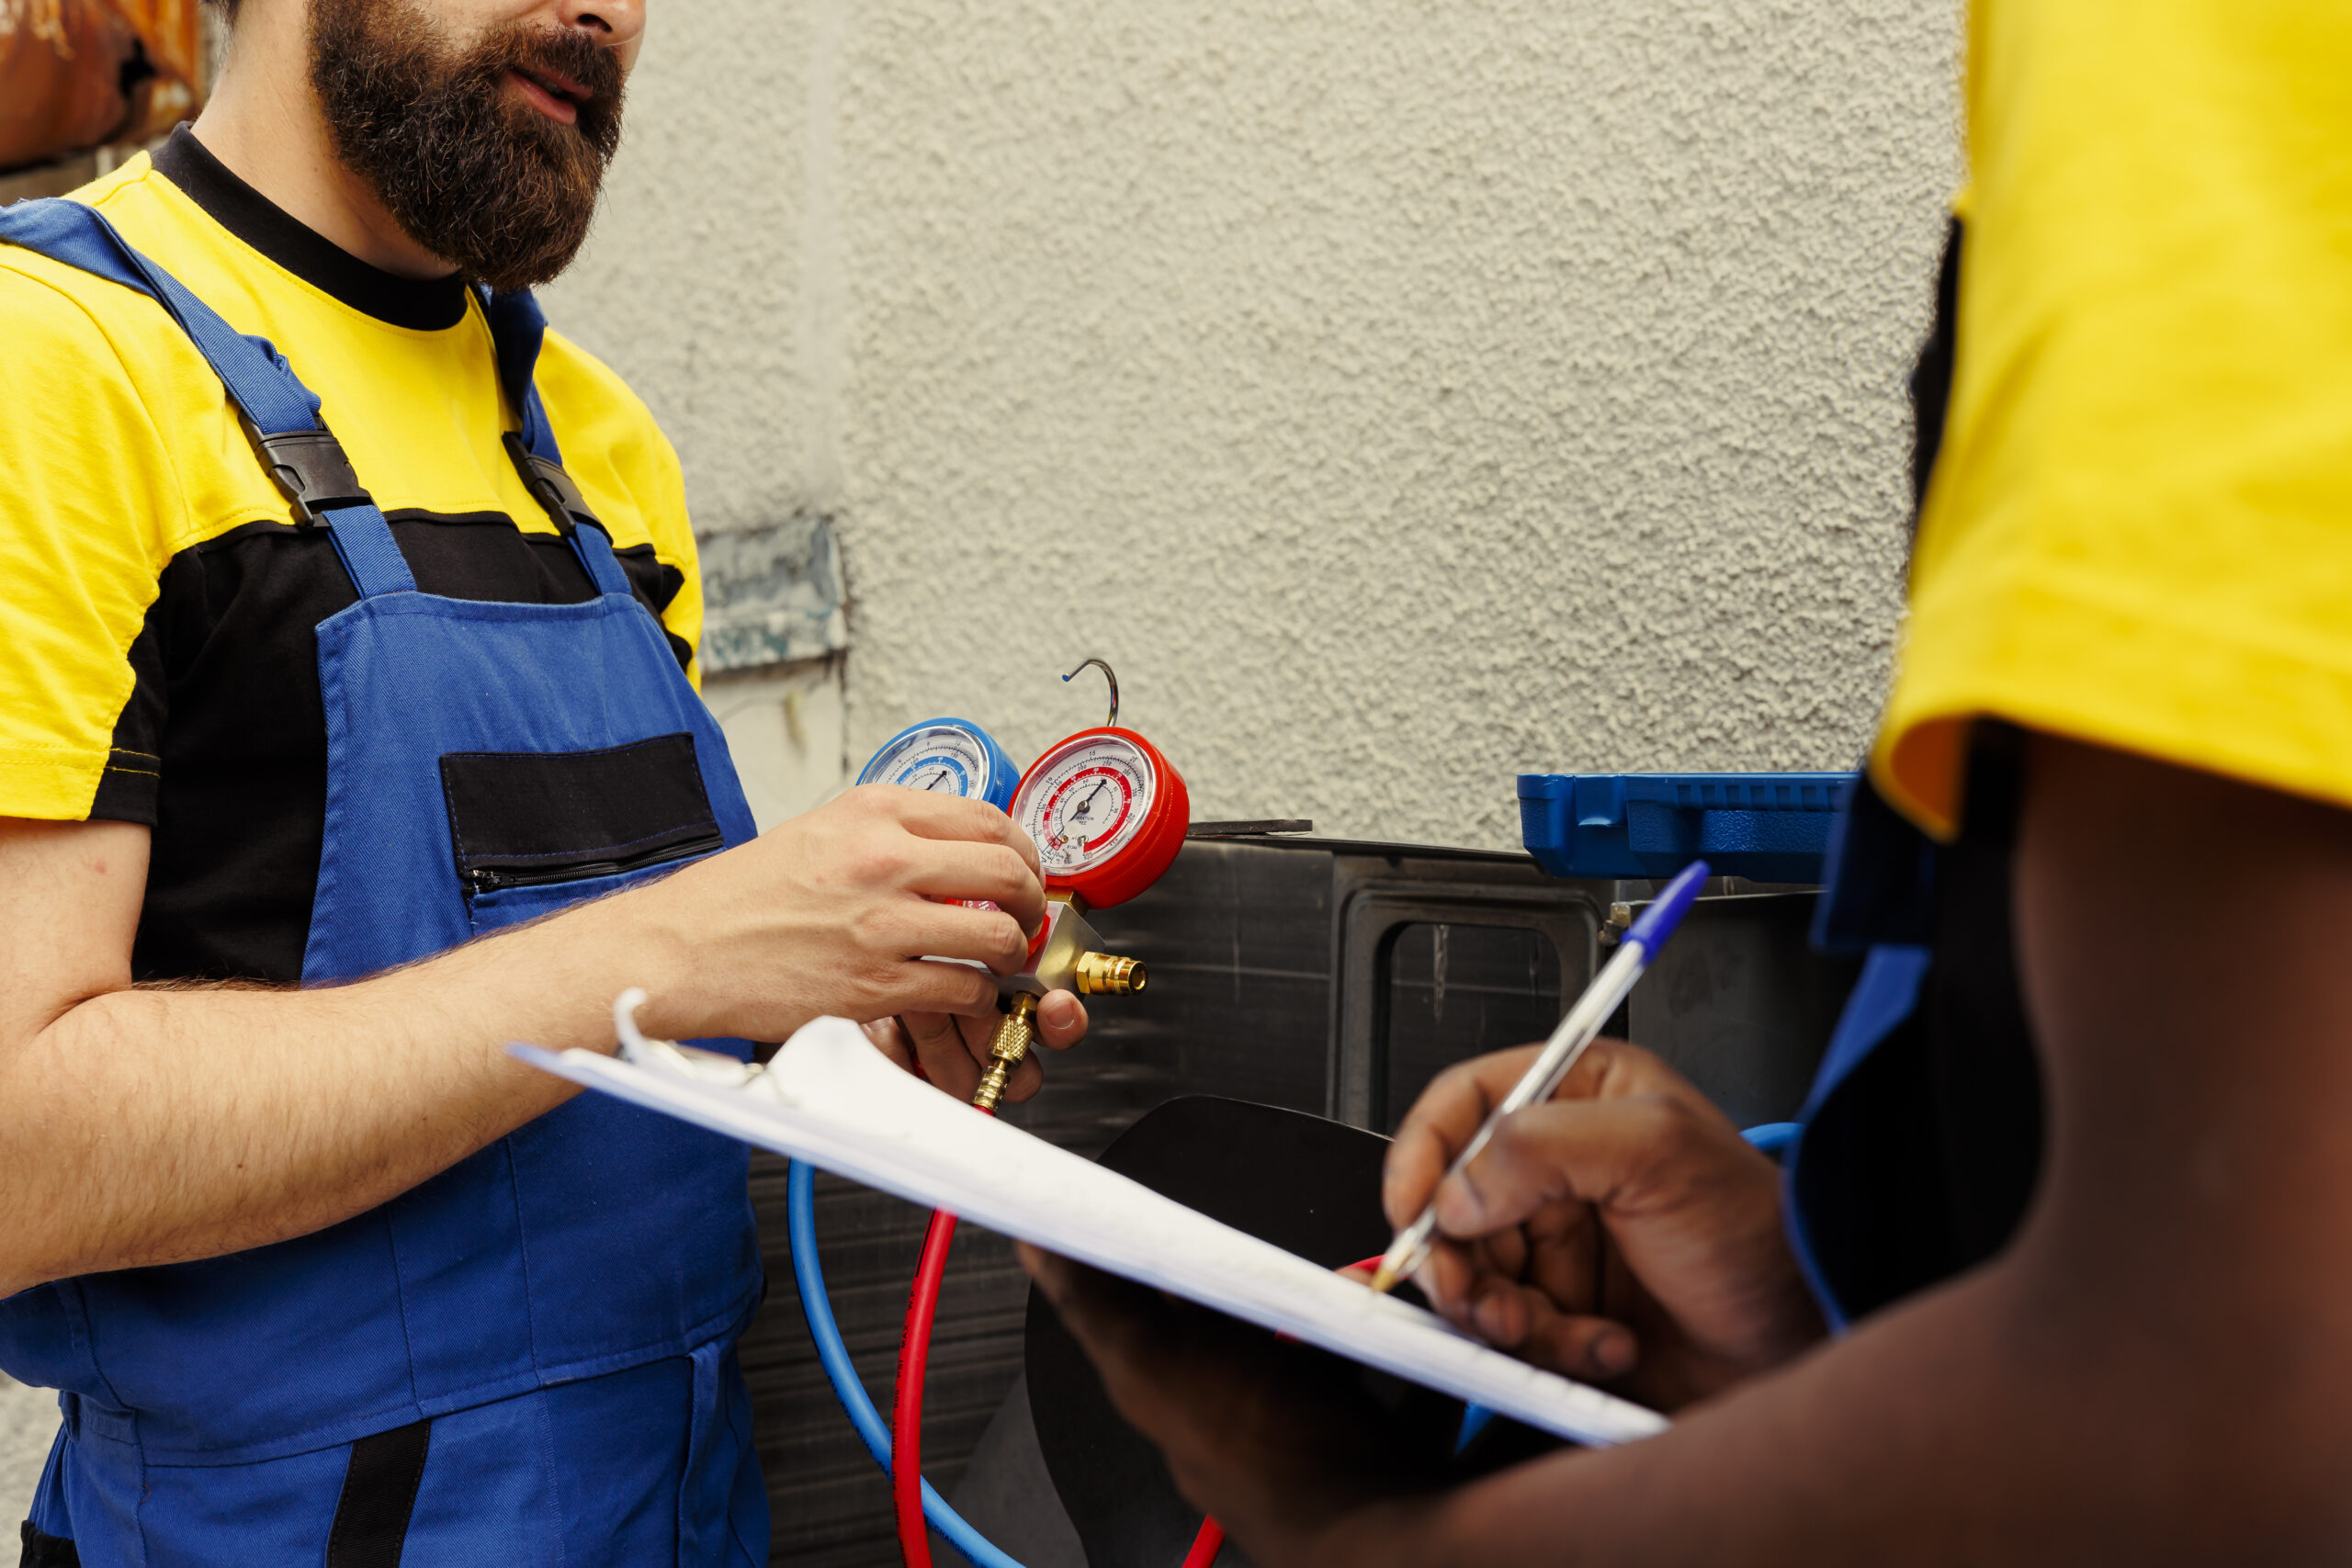
Professional insulation installation costs more upfront but delivers superior results. Trained installers know how to handle residential heat pump services and ductwork correctly. They understand ventilation requirements and building codes. Poor DIY installation wastes money through long-term energy loss and potential damage.
Attic Shape and Accessibility
How your attic’s laid out influences material choice. Spaces with lots of obstructions favor blown-in or spray foam. Regular, open areas accommodate batts. Low clearance or hard-to-reach zones call for blown materials or spray foam.
Existing ductwork and equipment limit working space. Planning to keep your HVAC accessible for emergency air conditioner repair in certain attic spots? Skip the permanent spray foam there. How often will you need to get to wiring or plumbing up there? Consider what’s the best way to insulate attics while maintaining access.
Budget and Cost Considerations
Material and installation prices vary widely. Fiberglass batts cost the least. Spray foam runs three to five times higher but delivers superior performance and air sealing.
Figure out payback through energy savings. Quality insulation reduces monthly bills. You’ll typically recoup costs in 2-7 years. Check for utility rebates and tax credits on energy upgrades.
Climate and Local Weather Conditions
The Bay Area has multiple microclimates. Each one creates different insulation needs. Warmer inland valleys like San Ramon and Pleasanton need good cooling performance. Coastal areas face more moisture concerns. Where you live determines the best insulation for attic ceiling applications.
Summer heat gain matters more than winter heat loss in many Bay Area spots. Air sealing becomes important in all climates. Vapor barriers? They help in humid conditions but can trap moisture in some situations. Local codes reflect regional requirements. Finding the best insulation for attics in your area depends on your specific climate zone.
Moisture and Air Sealing Needs
Air leaks waste 25-40% of what you spend on heating and cooling.
Seal them before you add insulation, or use spray foam to knock out both at once. Other materials leave air sealing as a separate task.
Bay Area climates rarely need vapor barriers on the attic floor. Ventilation usually controls moisture without sealing everything tight. Want to know if your situation needs moisture control? A pro who handles residential heat pump installation or residential heat pump repair can check out your attic. They’ll help you determine the best way to insulate attic areas while managing moisture properly.
Longevity and Maintenance
Spray foam rarely needs replacement. Cellulose and fiberglass may need topping off after 10-15 years. Batts last longer than blown materials because they don’t settle.
Maintenance requirements vary. Inspect loose-fill insulation occasionally for gaps or settling. Check batts for moisture damage or pest problems. After installation, spray foam needs almost minimal upkeep. Consider the expense of ongoing maintenance when comparing various insulation options.
Get the Proper Insulation for Your Home
What’s right for your attic? It depends on your home’s construction, your budget, and whether you’re staying put or planning to move. Tight budget and standard framing? Most people go with fiberglass batts. Blown fiberglass handles irregular spaces at a moderate cost. Cellulose appeals to eco-minded homeowners. Spray foam runs more expensive, but outlasts everything else. And if you’re still deciding, comparing different attic insulation options can help you narrow down what fits your home best.
Around here, shoot for R-38 to R-49 insulation levels. You’ll need to balance what you spend now against your long-term energy savings. Choosing among types of insulation for attics means weighing upfront costs against performance and longevity. The best insulation for attic ceiling work balances all these factors.
Get a professional to evaluate your attic insulation options. Contractors find air leaks, moisture issues, and ventilation problems that impact performance. They’ll suggest the best way to insulate attic spaces, sometimes it could be attic insulation removal and after recommend the right types of insulation for attic work based on regional weather patterns.
Good attic insulation helps keep bills down and makes the home feel better to live in. It can lift the value of the property as well. Thinking about your attic insulation installation? Call Chill Heating & Cooling at (925) 350-7558 and we’ll recommend what works for your Bay Area home. We’ll show you the insulation options for attics that make sense for your specific situation.
Ready to upgrade your attic? Contact us for personalized advice.